Physics 281L is an experimental techniques course designed to foster learning through hands-on experiences and group collaboration. When the COVID-19 pandemic required students to stay out of the lab, I redesigned the course in an effort to maintain as much trial-and-error troubleshooting, hands-on experience, and meaningful group work as the new circumstances allowed.
You can read about the following three major changes below:
Hands-On Labs at Home
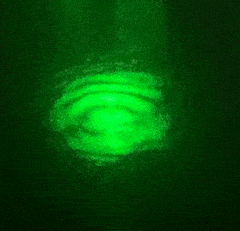
Jamie achieved beautiful interference fringes with a home-built Michelson interferometer! The video shows that changing the relative optical path length between arms leads to measurable fringe evolution.
Nothing beats giving students the opportunity to put their own hands on scientific equipment so that they can control and troubleshoot it themselves. After all, the first course goal is
Students will learn to operate and implement tools and techniques used by experimental physicists in their research. Students will learn to take measurements with devices such as Vernier calipers, oscilloscopes, and Michelson interferometers, and to quantify the uncertainties associated with these measurements.
To achieve hands-on experimentation during the pandemic, we heavily modified two labs and shipped or hand-delivered equipment packages to each student.
Equipment for an at-home RC circuit lab being readied for shipment to students’ homes. Each kit was assembled assembly-line style with apparatus such as a miniature function generator, a LabQuest Mini, and a digital multimeter included.

Build an Interferometer at Home
In the standard version of PHYS 281L, students use a pre-built Michelson interferometer to measure the indices of refraction of air and acrylic. Since shipping and/or building an interferometer precise enough to make these measurements at home would be time, safety, and cost-prohibitive, we converted the experiment into an instrumentation exercise. Students were given a set of inexpensive optical components (mirrors, beam splitters, adjustable mirror mounts, laser pointers, etc.) and tasked with figuring out how to build an interferometer with minimal instructions.

An example interferometer equipment set sent to students. Along with the standard optical supplies, Post-It notes, as well as single and double-sided tape were provided to help with attaching and aligning components.
This required some ingenuity! We made sure that the components would not screw or “click” together in any one prescribed manner. However, by the end of the 3-hour lab period, approximately 75% of students generally had achieved interference fringes! Students worked with their groups via Zoom, sharing advice and trading ideas throughout the process. Once one of the group members had a working interferometer, they experimented with inserting and rotating a thin sheet of acrylic in one of the arms — the change in optical path length in that arm would lead to fringe evolution.
The subsequent lab report was designed to act as an instrumentation paper. As a group, students carefully explained the steps needed to produce interference fringes given similar equipment, and used their observations with the acrylic sheet to prove their apparatus worked.
This experiment proved highly successful. We felt as though the finnicky trial-and-error process with minimal guidance did a good job of mimicking the realities of “real-world” research without becoming too demoralizing, and students were invariably excited when they got things working. Here are some student images of working home-built interferometers:


Measure the Permittivity of Printer Paper at Home
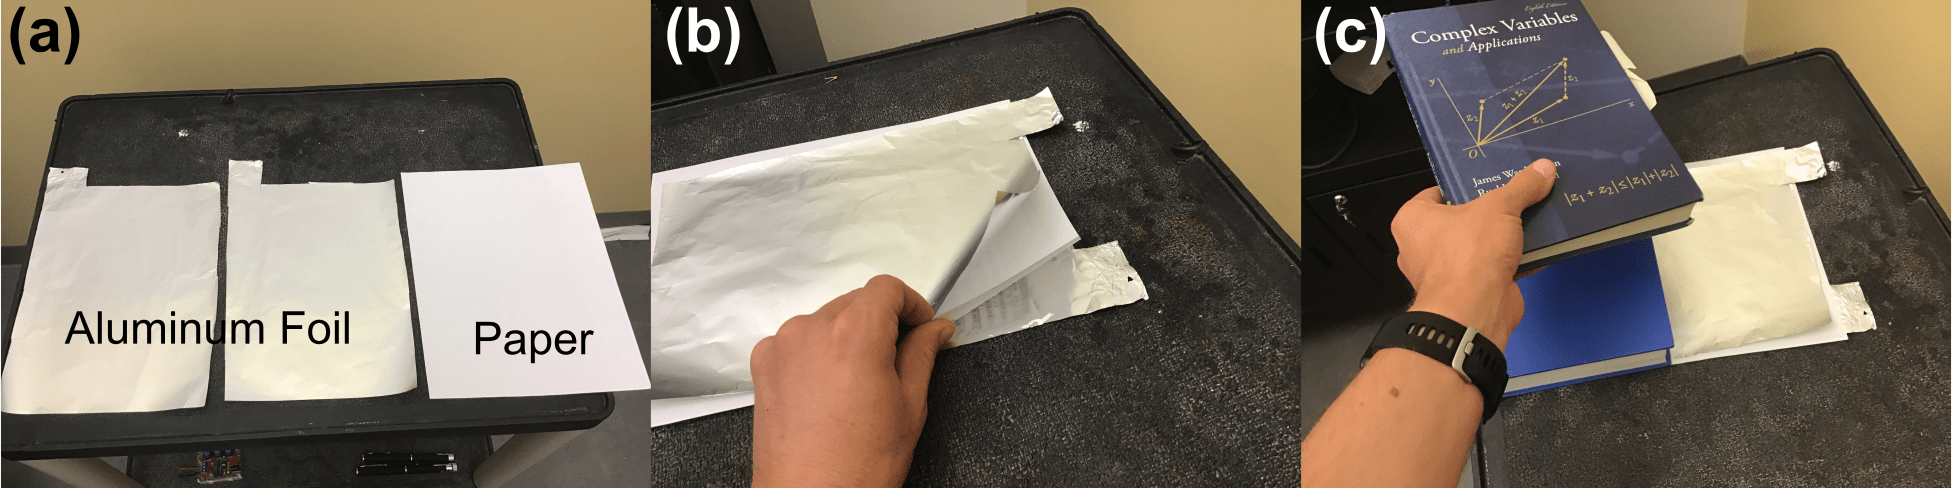
Building on a standard PHYS 281L experiment in which students use an RC circuit with a large, adjustable-spacing parallel plate capacitor, in the remote version of the course students instead built a capacitor out of aluminum foil. The RC circuit’s exponential voltage decay could then be characterized to determine the permittivity of the material between the capacitor plates.
In lieu of sending every student an expensive function generator and oscilloscope, Vernier LabQuest Minis and $10 hobbyist function generators (built from a kit by instructors) were provided. Troubleshooting circuits on breadboards remotely was no easy feat, but in the end almost every group of three found a value for the permittivity of printer paper that was on the accepted order of magnitude.
Aaron’s homemade RC circuit with the function generator on the left, and the aluminum foil capacitor under the book on the right.

Remote Control Labs
Creating at-home versions of laboratory experiments is expensive, and not all labs are amenable to this approach–especially when they involve specialized equipment or ionizing radiation! Luckily the X-ray apparatus that we use to measure Planck’s constant via Compton scattering can be controlled via a PC. Using the remote screen sharing software TeamViewer, I set up a system whereby groups of students could collaboratively control the apparatus through a computer sitting on the desk behind mine, and monitor the apparatus visually via a Zoom-connected webcam.

Students were given remote access to this X-ray machine so that they could use the software interface to run a Compton scattering experiment. A live video feed of the apparatus via Zoom provided real-time feedback. I set up the apparatus directly behind my desk so that I could keep tabs on student progress and ensure safety.
Students generally spent 15-20 minutes sorting out technical difficulties, but once they got going, the data they produced was at least as good as the data students usually collect in person. One caveat is that a few students with the slowest internet connections were not able to directly take control in TeamViewer. Instead they watched as their groupmates shared their screens in Zoom.
Virtual (Video-Guided) Group Lab Workbooks
When at-home and remote-control labs were not possible, student groups completed labs via an interactive video-guided workbook built around google slides.
Students watched several brief video segments which showed me performing the lab. Each video was shot from multiple angles and I demonstrated how equipment looked in my hands. The goal was to provide students with as much 3-D spatial understanding of the equipment as possible.

As a group students watched several (6-10) short video segments showing me performing the experiment with guiding voiceovers. Following each segment, a question such as “predict what turning this knob will do,” or “explain why making this measurement in this manner would lead to unacceptably-high uncertainty” was posed. Students answered the questions as a group in a shared google slides “workbook.” This gave the instructors the ability to monitor progress for all groups simultaneously, and quickly move into specific breakout rooms as needed to clear up confusion.
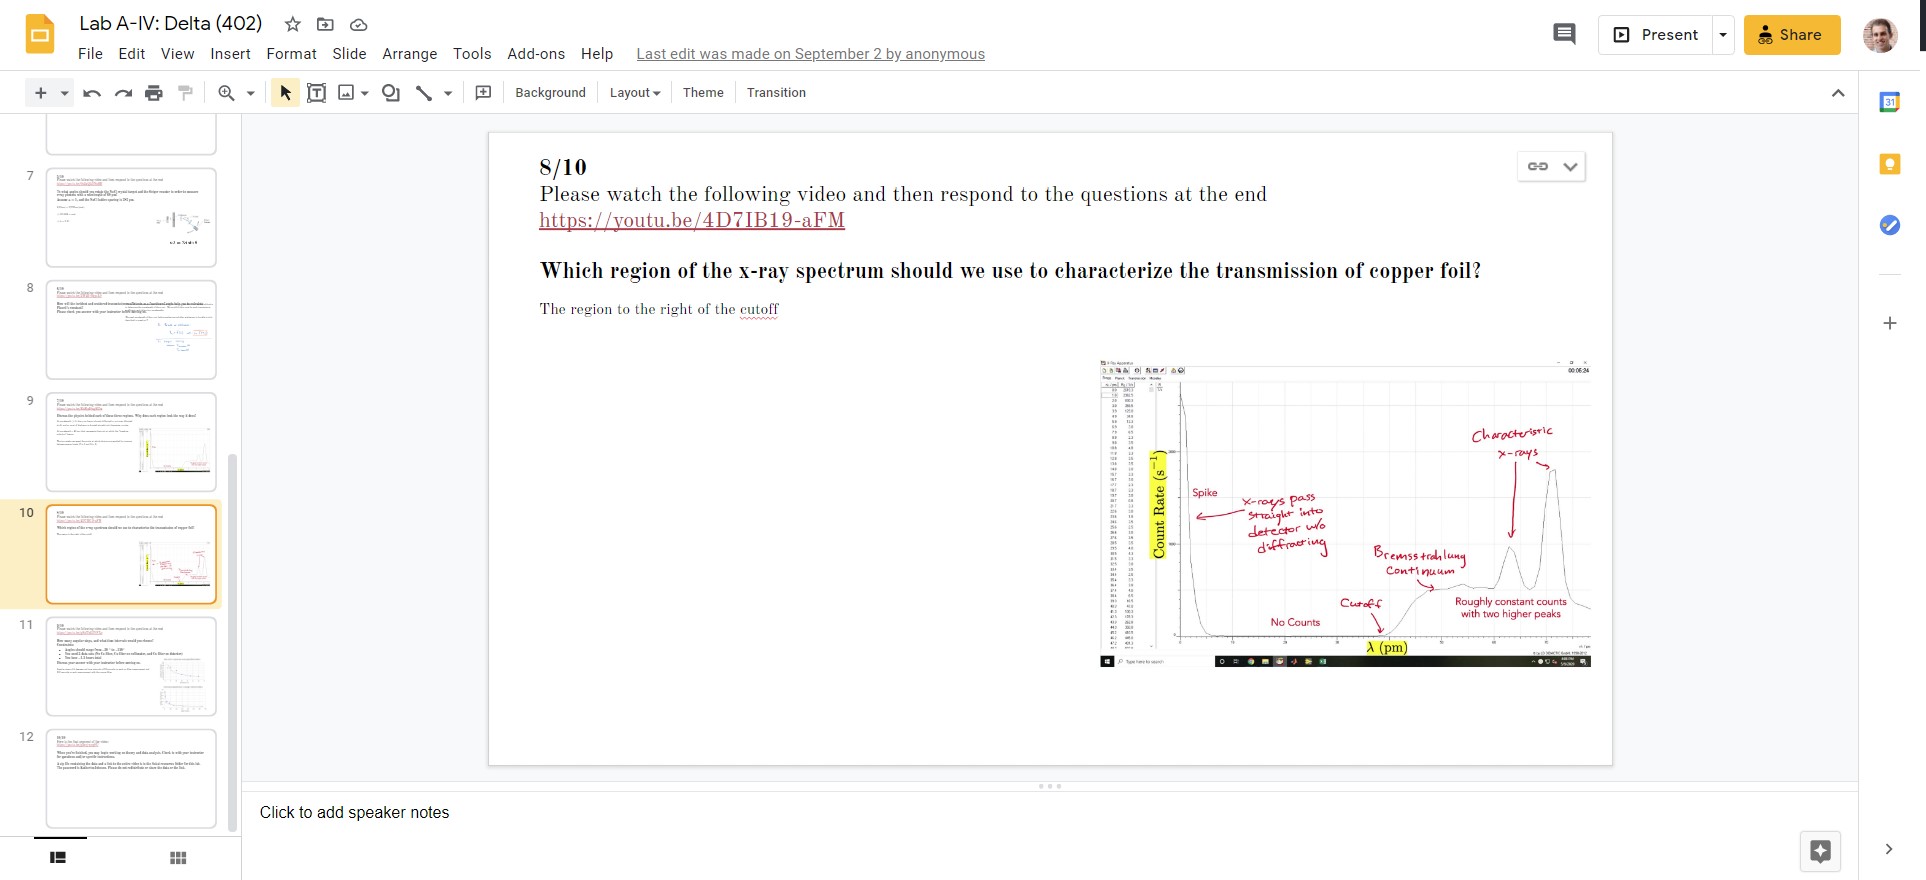
Each step in the google slideshow asked students to watch a new video segment, and then provided a space in which to collaboratively answer the question(s) posed by that segment.
Although a far cry from actually being able to control the equipment themselves, these virtual labs gave students the opportunity to make predictions and check those predictions in (almost) real time.
To maintain the integrity of the course, I cannot share the virtual labs publicly online. That said, if you are an instructor, please get in touch.
A big thank you to Jamie, Aaron, Matteo, and Denver (among others) who provided images of their lab setups for this page.